How to Create a Site from Scratch Using Contentful CMS

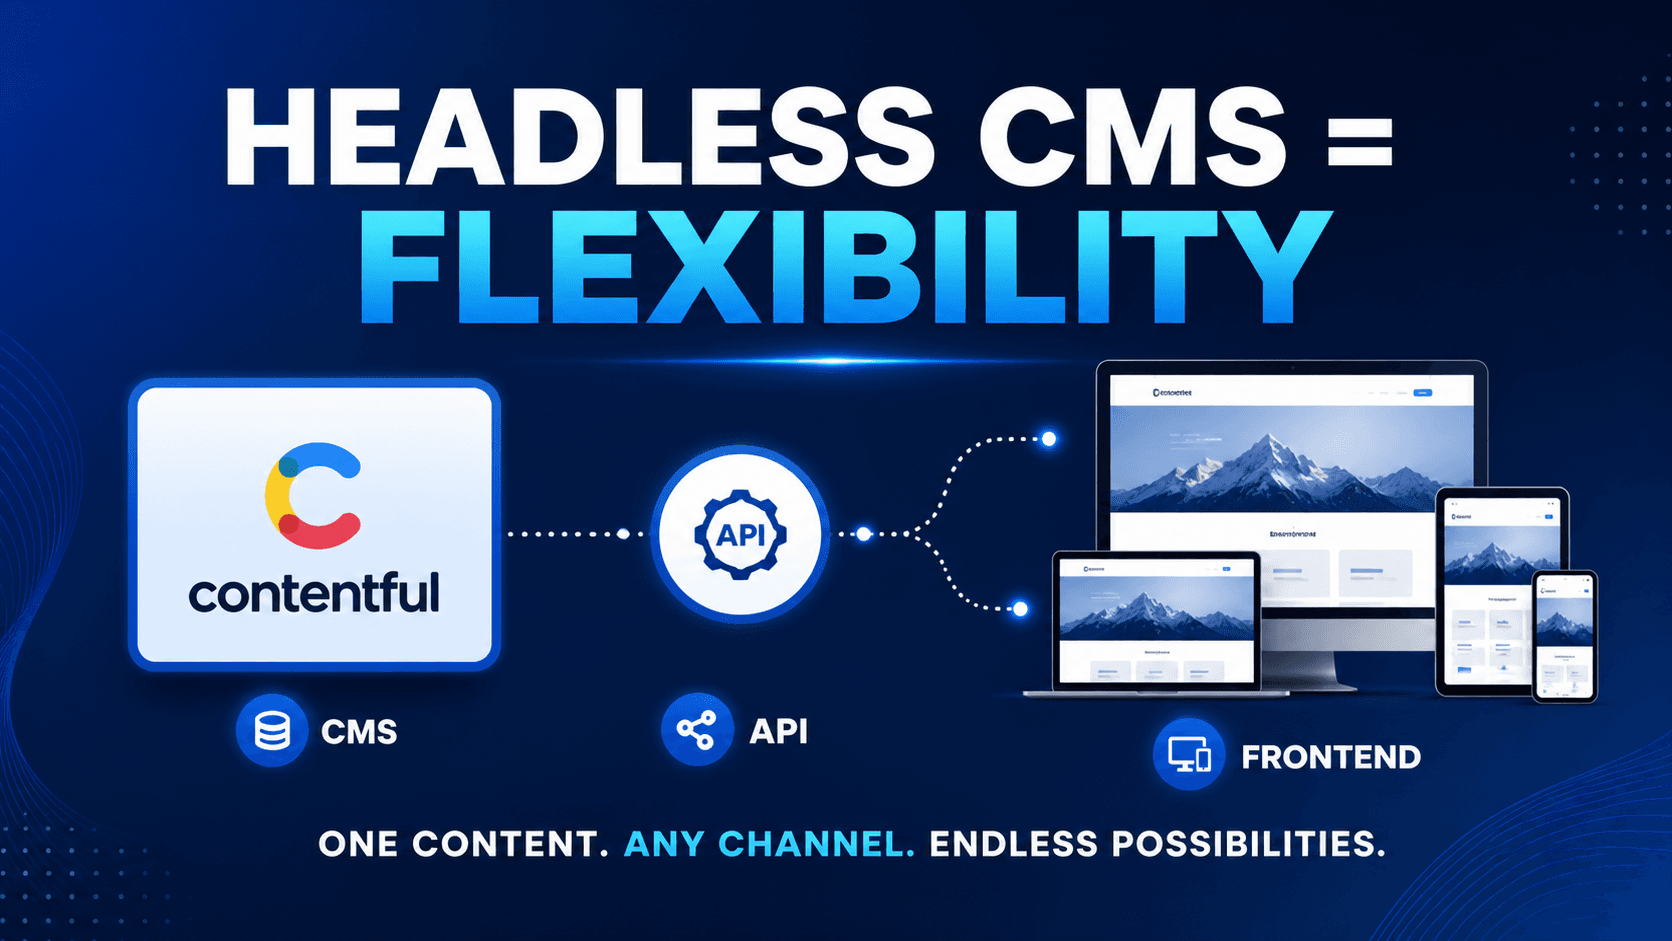
Building a site from scratch can feel overwhelming, but with a headless CMS like Contentful, the process becomes far more flexible and scalable. Instead of being tied to a monolithic system, you can manage content independently and deliver it to any frontend you like—whether that’s a website, mobile app, or even a smart device.
This guide walks you through the full process of creating a blog site using Contentful CMS, from setup to deployment.
1. Understand What Contentful Is
Contentful is a headless CMS, meaning it handles content management but leaves the presentation layer (your frontend) completely up to you. This separation gives you:
- Greater design flexibility
- Faster performance
- Easier scalability
- API-driven content delivery
2. Set Up Your Contentful Account
Start by creating an account at Contentful and logging into the dashboard.
Once inside:
- Create a new Space (this is your project workspace)
- Choose either a blank space or a starter template
Think of a Space as the container for all your blog content.
3. Design Your Content Model
Before writing any code, define how your blog content will be structured.
For a typical blog, you’ll need a content type like:
Blog Post
Fields:
- Title (Short text)
- Slug (Short text, unique)
- Featured Image (Media)
- Content Body (Rich text)
- Author (Reference)
- Publish Date (Date & time)
- Tags (List or text)
You may also create:
- Author content type (Name, Bio, Profile Image)
This structured approach ensures consistency and makes your content reusable.
4. Add Sample Content
Create a few blog posts inside Contentful to test your setup.
- Upload images
- Fill in titles and content
- Assign authors and publish dates
This helps you verify that everything works correctly when you connect your frontend.
5. Choose Your Frontend Technology
Since Contentful is headless, you need a frontend framework to display your blog.
Popular choices include:
- Next.js (React-based, great for SEO)
- Gatsby (static site generator)
- Nuxt.js (Vue-based)
- Plain React or Vue
For beginners, Next.js is highly recommended due to its balance of simplicity and performance.
6. Connect Contentful to Your Frontend
Install the Contentful SDK in your project:
npm install contentful
How to Get Space ID
- Log in to your Contentful dashboard
- Open the Space you created for your blog
- Go to Settings (top menu)
- Click on General settings
You’ll see:
- Space ID → copy this value
How to Get Access Token (Content Delivery API)
- Inside your Space, go to Settings
- Click on API keys
- Click Add API key (or open an existing one)
You’ll find:
- Content Delivery API Access Token → use this in your frontend
Then configure it using your credentials:
Example .env Setup
CONTENTFUL_SPACE_ID=your_space_id_here
CONTENTFUL_ACCESS_TOKEN=your_access_token_here
import { createClient } from 'contentful';
const client = createClient({
space: 'YOUR_SPACE_ID',
accessToken: 'YOUR_ACCESS_TOKEN',
});
Fetch blog posts:
const entries = await client.getEntries({
content_type: 'blogPost',
});7. Build Your Blog Pages
Create key pages:
Homepage
- List all blog posts
- Show title, image, and excerpt
Blog Post Page
- Display full content
- Use slug-based routing (e.g., /blog/my-post)
Author Page (optional)
- Show posts by author
8. Style Your Blog
Use CSS frameworks or libraries like:
- Tailwind CSS
- Bootstrap
- Styled Components
Focus on:
- Clean typography
- Responsive design
- Readability
9. Optimize for SEO
Add:
- Meta titles and descriptions
- Open Graph tags (for social sharing)
- Clean URLs using slugs
If using Next.js, leverage built-in SEO tools like <Head>.
10. Deploy Your Blog
Deploy your frontend using platforms like:
- Vercel
- Netlify
- AWS Amplify
Steps:
- Push code to GitHub
- Connect repository to deployment platform
- Add environment variables (Contentful keys)
- Deploy
11. Manage and Scale
Now that your blog is live:
- Add new posts directly in Contentful
- No need to redeploy for content updates (if using SSR or ISR)
- Expand with features like comments, search, and categories
Final Thoughts
Using Contentful gives you full control over both content and presentation. While it requires a bit more setup than traditional CMS platforms, the flexibility and scalability make it worth the effort—especially if you plan to grow your blog into a larger platform.
Reference: Contentful CMS
Thank You!
