


How to Deploy a FastAPI Project on Hostinger Cloud Panel: A Complete Step-by-Step Guide
FastAPI has become one of the most popular Python frameworks for building high-performance APIs due to its speed, simplicity, and automatic API documentation. Once your FastAPI application is ready, the next step is deploying it to a production server where users can access it.
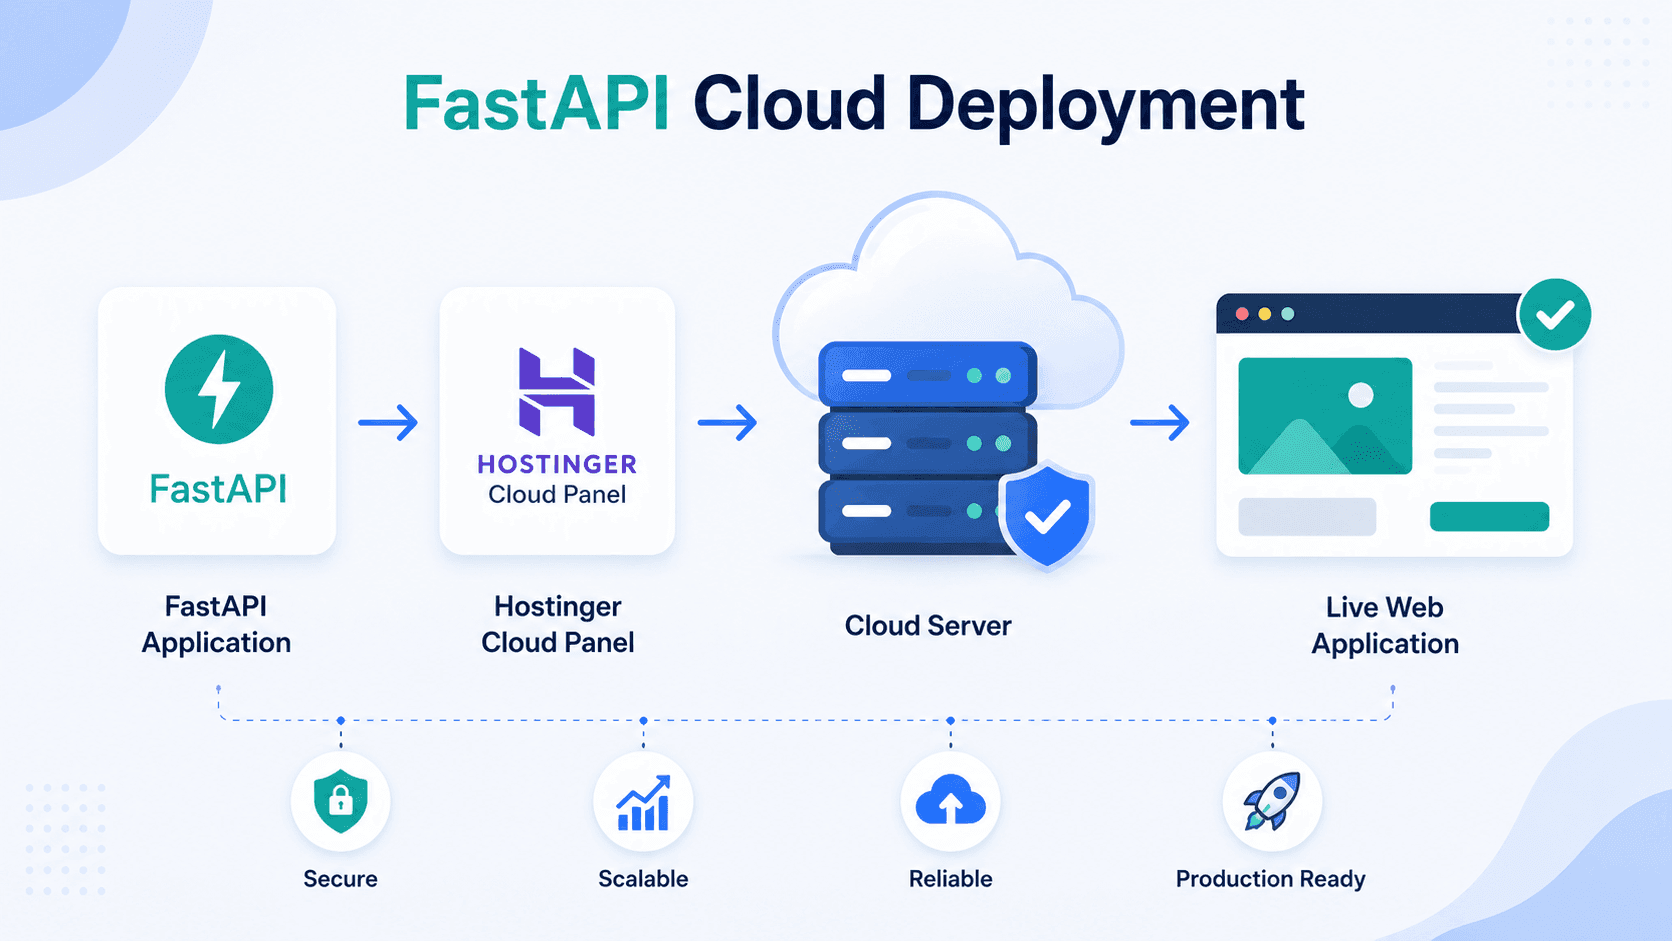
In this tutorial, you'll learn how to deploy a FastAPI application on Hostinger Cloud Hosting using the Hostinger Cloud Panel. We'll cover everything from preparing your project to configuring the server, installing dependencies, and setting up a reverse proxy with Nginx.
Prerequisites
Before starting, make sure you have:
- A Hostinger Cloud Hosting plan or VPS.
- A FastAPI project.
- SSH access enabled.
- Python 3.9 or later installed.
- A domain name (optional but recommended).
- Basic knowledge of Linux commands.
Step 1: Create Your FastAPI Project
A typical FastAPI project structure looks like this:
fastapi-app/
│
├── app/
│ ├── main.py
│ └── routes.py
│
├── requirements.txt
├── .env
└── README.md
Example main.py:
from fastapi import FastAPI
app = FastAPI()
@app.get("/")
async def root():
return {"message": "Hello from FastAPI on Hostinger"}
Create a requirements.txt file:
fastapi
uvicorn
gunicorn
python-dotenv
Install dependencies locally:
pip install -r requirements.txt
Test locally:
uvicorn app.main:app --reload
Open:
http://localhost:8000
Let's Build Something Exceptional
Step 2: Upload the Project to Hostinger
There are several methods to upload your application:
Option 1: Git Repository
Connect to your server via SSH:
ssh username@your-server-ip
Clone the repository:
git clone https://github.com/username/fastapi-app.git
Navigate to the project:
cd fastapi-app
Option 2: File Manager
- Login to Hostinger hPanel.
- Open File Manager.
- Upload the project ZIP.
- Extract the files.
Option 3: FTP/SFTP
Use tools like:
- FileZilla
- WinSCP
- Cyberduck
Upload the project directory to your hosting account.
Step 3: Connect Through SSH
From your terminal:
ssh username@server-ip
Update system packages:
sudo apt update
sudo apt upgrade -y
Step 4: Install Python and Virtual Environment
Check Python version:
python3 --version
Install virtual environment package:
sudo apt install python3-venv -y
Create virtual environment:
python3 -m venv venv
Activate it:
source venv/bin/activate
You should see:
(venv)
Step 5: Install Project Dependencies
Inside the project folder:
pip install -r requirements.txt
Verify installation:
pip list
Step 6: Test FastAPI Application
Start the application manually:
uvicorn app.main:app --host 0.0.0.0 --port 8000
Visit:
http://server-ip:8000
You should see:
{
"message": "Hello from FastAPI on Hostinger"
}
Stop the server:
CTRL + C
Step 7: Configure Gunicorn
Install Gunicorn:
pip install gunicorn
Run the application:
gunicorn -w 4 -k uvicorn.workers.UvicornWorker app.main:app
Explanation:
-w 4 = 4 worker processes
UvicornWorker = ASGI support
app.main:app = FastAPI entry point
Step 8: Create a Systemd Service
Create a service file:
sudo nano /etc/systemd/system/fastapi.service
Add:
[Unit]
Description=FastAPI Application
After=network.target
[Service]
User=root
WorkingDirectory=/home/user/fastapi-app
ExecStart=/home/user/fastapi-app/venv/bin/gunicorn \
-w 4 \
-k uvicorn.workers.UvicornWorker \
app.main:app
Restart=always
[Install]
WantedBy=multi-user.target
Save and exit.
Reload systemd:
sudo systemctl daemon-reload
Enable service:
sudo systemctl enable fastapi
Start service:
sudo systemctl start fastapi
Check status:
sudo systemctl status fastapi
Step 9: Install and Configure Nginx
Install Nginx:
sudo apt install nginx -y
Create site configuration:
sudo nano /etc/nginx/sites-available/fastapi
Add:
server {
listen 80;
server_name yourdomain.com;
location / {
proxy_pass http://127.0.0.1:8000;
proxy_set_header Host $host;
proxy_set_header X-Real-IP $remote_addr;
proxy_set_header X-Forwarded-For $proxy_add_x_forwarded_for;
}
}
Enable configuration:
sudo ln -s /etc/nginx/sites-available/fastapi \
/etc/nginx/sites-enabled/
Test configuration:
sudo nginx -t
Restart Nginx:
sudo systemctl restart nginx
Step 10: Configure Domain Name
In Hostinger DNS settings:
Type: A
Host: @
Value: Server IP Address
Wait for DNS propagation.
Visit:
http://yourdomain.com
Step 11: Enable SSL with Let's Encrypt
Install Certbot:
sudo apt install certbot python3-certbot-nginx -y
Generate SSL certificate:
sudo certbot --nginx -d yourdomain.com
Verify:
https://yourdomain.com
Your API is now secured with HTTPS.
Step 12: Access FastAPI Documentation
FastAPI automatically generates API documentation.
Swagger UI:
https://yourdomain.com/docs
ReDoc:
https://yourdomain.com/redoc
These interfaces allow developers to test API endpoints directly from the browser.
Accelerate Your Digital Growth Today
Troubleshooting Common Issues
Application Not Starting
Check logs:
sudo journalctl -u fastapi
Nginx Error
Check:
sudo nginx -t
Review logs:
sudo tail -f /var/log/nginx/error.log
Port Not Accessible
Allow traffic:
sudo ufw allow 80
sudo ufw allow 443
sudo ufw allow 8000
Dependency Errors
Reinstall packages:
pip install -r requirements.txt
Best Practices for Production Deployment
- Use environment variables for secrets.
- Store credentials in .env files.
- Enable HTTPS.
- Use Gunicorn with multiple workers.
- Configure automated backups.
- Monitor logs regularly.
- Keep Python packages updated.
- Use database connection pooling.
- Implement rate limiting and authentication.
Conclusion
Deploying a FastAPI application on Hostinger Cloud Hosting is straightforward when using a combination of Python virtual environments, Gunicorn, Systemd, and Nginx. This setup provides a stable, scalable, and production-ready environment for hosting APIs and web applications.
By following the steps outlined in this guide, you can successfully deploy FastAPI projects, secure them with SSL, connect a custom domain, and ensure reliable performance for your users.